5 Incredible Sewing Tips, from Threadymade's Very Own Rob Younkers, That are Guaranteed to Make Your Life Easier

5 Incredible Sewing Tips to Make Your Life Easier
While once a common household skill, sewing is quickly becoming a lost art. More than 60% of people don't know how to sew, but that number is changing. In the era of mask-making and hunkering down, sewing machines have been selling at record highs, and in some cases selling out! That means it's our job (Yeah, us Threadymade!) to help make sewing projects that are interesting enough for the experts (attention to detail, beautiful up cycled fabric, hacks for outside-the-box ideas) and simple enough for the beginner (no patterns, easy instructions, sew up the sides!).
Regardless of your sewing skill level, we know if there’s a “common thread” amongst all sewists – they love to LEARN! That’s why we asked our resident sewing expert + professor (seriously, he’s taught everyone from kids at his sewing camp to emerging designers at Parsons), to help create this list of easy sewing tips + tricks to help make your sewing experience easier (and better!)
1. Ditch the Serger
The quickest way to up your sewing game and make all of your projects look professionally made is to finish the seams.
This means that you take some action to ensure there is no raw edges inside of the clothing. It helps to prevent the fabric from fraying and you having to pull out loose threads on a regular basis. If you look inside any of your store-bought pieces, you'll see that all of the seams have been finished.
Finishing seams is usually done with a serger. This machine basically wraps the edge of the extra fabric with thread, giving it a protective barrier.
A serger works great and gives you a very polished look. But not everyone has access to a serger and they can be difficult to use (if you know, you know!). Luckily, you have more options.
Pinking sheers are a great way to protect your fabric with much less effort. These scissors have zig-zag blades that cut the fabric in a way that will eliminate fraying as well. They're much more affordable and much simpler to use than a serger but give you the same end result. That's a win-win in our book!
2. Utilize Stay Stitching
When you're learning how to sew one of the trickiest skills to master is keeping everything in place while you get it sewn. Fabric is often slippery and it can shift without you knowing. Believe me, nothing is worse than thinking you're done only to realize everything has moved around and you've sewn it incorrectly.
Stay stitching is a great way to prevent that shifting from happening. It's especially important when you're sewing a curved line.
Basically, you'll sew a line across the desired area in one piece of fabric. That ensures it will keep intact while you piece it together with the other fabrics.
This is a common technique used when creating pleats for skirts or dresses as well.
3. Harder Than It Seams (AKA Perfecting the Seam Allowance)
The very most basic skill you need to have when sewing is the ability to sew in a straight line at your desired seam allowance (how far in your seam will go from the raw edge of the fabric).
It's so important because if you can't follow your seam allowance, the piece won't turn out uniform and will look off. Most machines have seam widths indicated with tiny marks, but don’t have a raised guide to follow.
Enter the best of sewing tips and tricks; CREATE YOUR OWN SEAM ALLOWANCE GUIDE ON YOUR SEWING MACHINE! I mean, we know if you’re reading this you love to get down with some DIY.
This is SO EASY and incredibly helpful!
Simply marking where the various seam allowances are will allow you to easily keep your fabric in the right spot for the entirety of the project. And the best part is, once you do this once you can use it every time with no more effort.
Marking your machine can be as easy as using a ruler and permanent marker. Or you can use rubber bands placed at the right measurements for a more raised guide to follow.
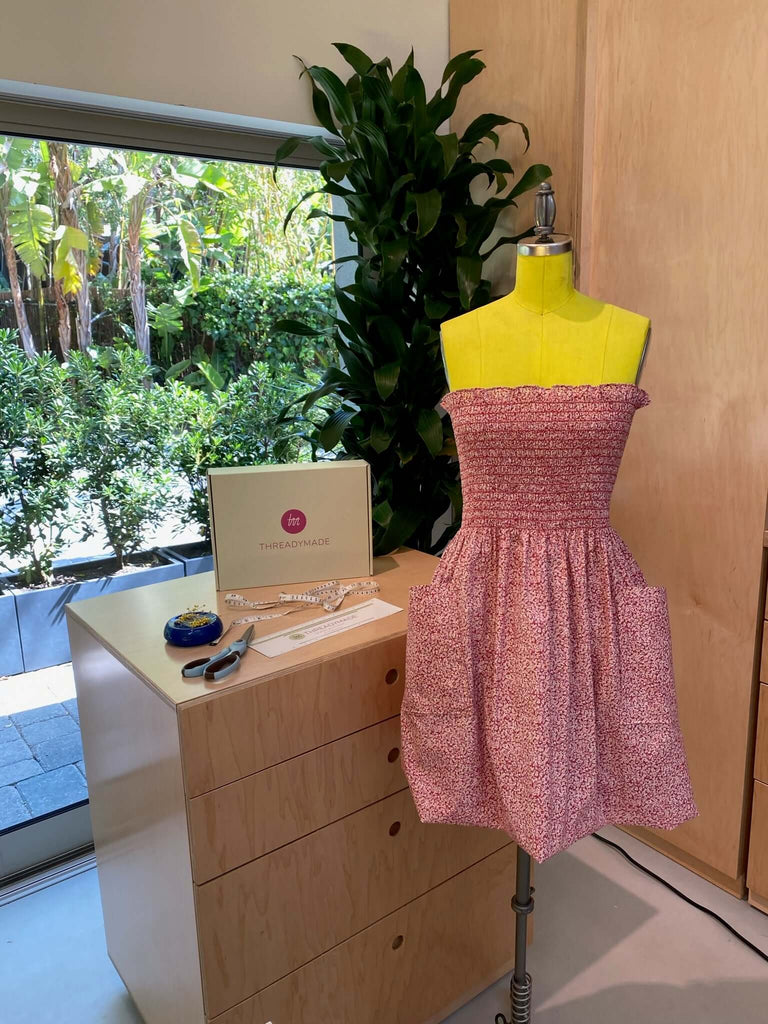
This feels like the right moment to mention that all of our Threadymade kits also come with the most accurate ruler that's big and easy to use. Perfect for all of your sewing needs!
4. Pull Elastic Through
One of the most basic sewing projects that most beginner sewists start with is a gathered skirt. This is a rectangle of fabric pulled into a skirt using an elastic waistband.
At Threadymade, we've made our kits easy enough that they emulate this "basic skirt" beginner exercise, but gives you a finished piece that looks ultra-luxe and professional. That's because all of our skirt sewing projects come pre-pleated. They also come with multiple waistband options, so based on your style and skill, you can pick what makes the most sense for you.
When pulling elastic through a covered waistband, you can lose your piece in the middle, leaving you feeling frustrated and antsy to finish up your project.
Here's a simple trick (that everyone needs to know) to prevent that from happening: add a safety pin to the edge of the elastic. This gives you something more substantial to hold onto as you guide the elastic through.
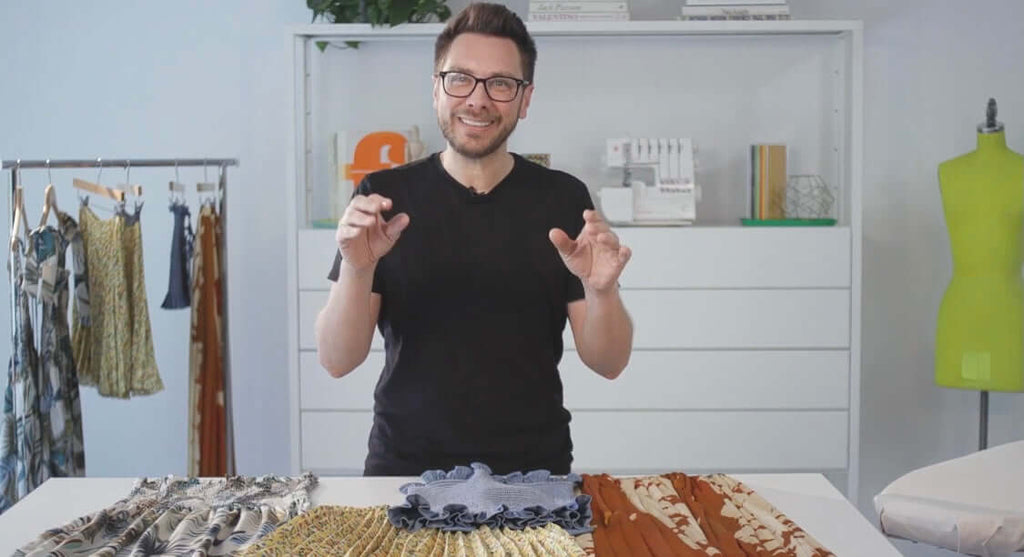
This technique is helpful for many different kinds of projects beyond the circle skirt, like bags or smocked tops. You can watch me walk through this on our YOUTUBE channel.
5. Fake It Till You Make It (the Hem!)
Creating a hem can be tedious because you have to move across the fabric measuring and pressing as you go to make sure it's even all the way around. This can be so time-consuming, especially when you're a beginner without much practice.
Just like you need to finish off the inside seams to make a garment look professional, it's essential to finish off the outside of the garment by hemming the edges.
That’s why we professionally LASER CUT all of our skirt sewing projects, so it’s up to YOU if you want to learn/have the time to hem – or – you can just sew up your sides and go!
Sewing Tips to Make Your Projects Soar
There's little more satisfying in the world than seeing yourself (or someone you know!) wear something that you've made.
Following our sewing tips will help you be able to make more and better quality pieces in less time. And they'll also help you enjoy the process much more because there will be less frustration when things aren't seeming to go right. Don't wait to learn the hard way and take our advice on your next project!
If you're interested in finding your next project, check out our starter kits today!